

You’ve probably overlooked it, but your fridge deserves a deep clean.
It’s not just about eliminating odors. Regularly cleaning your fridge can enhance its efficiency, prolong its life, and ensure you consume fresh food.
So, let’s dive in! You’ll discover the benefits of maintaining a gleaming fridge and how to eliminate those pesky smells using eco-friendly deodorizers.
Trust us, it’s easier than you think!
Benefits of Cleaning a Fridge
You’ll find that regularly cleaning your fridge not only keeps your food fresh and prevents waste but act as a way to remove odors from fridge and maintain ideal storage conditions.
Adopting savvy cleaning techniques such as removing stains with baking soda or vinegar lets you take charge of your fridge’s cleanliness while providing freedom from harmful chemicals.
Organizing items properly assists in preventing cross-contamination and promoting food safety—a priority for everyone who loves their independence in the kitchen.
It’s all about maintaining freshness through proper storage; dairy products should be kept at the back where it’s coldest, while vegetables need a bit of humidity.
Regular fridge maintenance is essential to this freedom-loving lifestyle, ensuring you’re always ready for whatever culinary adventure comes next.

Before You Begin
Before you dive into cleaning and organizing your fridge, assessing your needs is crucial.
You’ll need to prepare the area and gather all the necessary tools to ensure a smooth process.
Don’t worry if this sounds daunting; we’ve got some handy tips for moving items out and removing shelves or drawers to make this task a breeze.
Assessing Your Needs
Assessing needs is crucial, as it’ll help you understand the specific requirements for cleaning your fridge, considering factors such as type of best fridge, level of dirt, and particular cleaning challenges.
This isn’t about doing what’s easy but ensuring temporary food storage in your fridge remains in optimal condition.
Here are a few things to consider:
- Type of Fridge: Whether you have a compact mini-fridge or a large side-by-side unit affects the cleaning methods.
- Level of Dirt: From minor spills to mold growths; knowing how dirty your fridge is will determine the intensity of cleaning required.
- Specific Cleaning Challenges: Some fridges may have hard-to-reach corners or stubborn stains that pose unique issues.
Preparing the Area and Tools
To start, it’s essential to set up a staging area with a folding table or chairs to hold the items from your unit and ensure that there’s an empty kitchen sink and a nearby recycling bin for convenience.
This preparation step allows you the freedom of space and time while cleaning.
The staging area benefits include easier access to your fridge contents and more organized items.
Having an empty kitchen sink is important as it makes cleaning tools like towels, brooms, or brushes more efficient.
You can rinse off any grime without delay! Plus, the recycling bin convenience aids in maintaining cleanliness by providing immediate disposal for any unwanted items or waste materials.
These necessary tools all contribute towards creating a productive and stress-free cleaning environment!
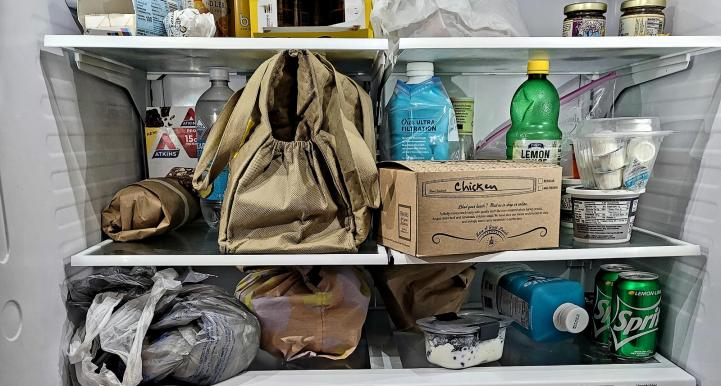
Tips for Moving Items Out
You’ll find that moving items out efficiently and safely is a crucial step, so make sure to organize everything carefully and label each item according to its category and expiration date.
This way, you’re preventing spills and accidents from happening while cleaning your fridge.
Here’s an easy guide for you:
- Start by removing all food items one by one.
- Next, categorize them accordingly such as dairy, meats, fruits, vegetables, condiments etc., and check their expiration dates too.
- Lastly, use containers or coolers for temporary storage.
Remember that correctly organizing items not only aids in efficiently moving them back later but also ensures the safe removal of all items without any mishaps.

Removing Shelves and Drawers
Once you’ve emptied the fridge and unplugged it, it’s time to remove the shelves and drawers carefully.
This is not a job for brute force; careful removal is critical.
You’ll avoid damage by paying special attention to clips or brackets that secure them in place.
As each piece comes out, consider using a cooler for temporary storage to prevent spoilage of contents.
Next up, labeling!
It may seem tedious, but jotting down or snapping a quick photo of the arrangement can be your saving grace when it comes to easy reassembly.
Believe us, you don’t want a puzzle on your hands after all this hard work!
Embrace this process as an adventure towards cleanliness and freedom from lurking crumbs or forgotten leftovers.
6 Steps on how to Clean Fridge
Ready to tackle the task of cleaning your fridge?
We’re going to guide you through a six-step process that’ll leave your refrigerator squeaky clean.
You’ll start by softening the accumulated gunk inside, then move on to washing the shelves and drawers before deep-cleaning the interior. Once everything’s washed, you’ll dry and reassemble all parts.
And remember – those jars and bottles need a thorough cleaning before they go back in!
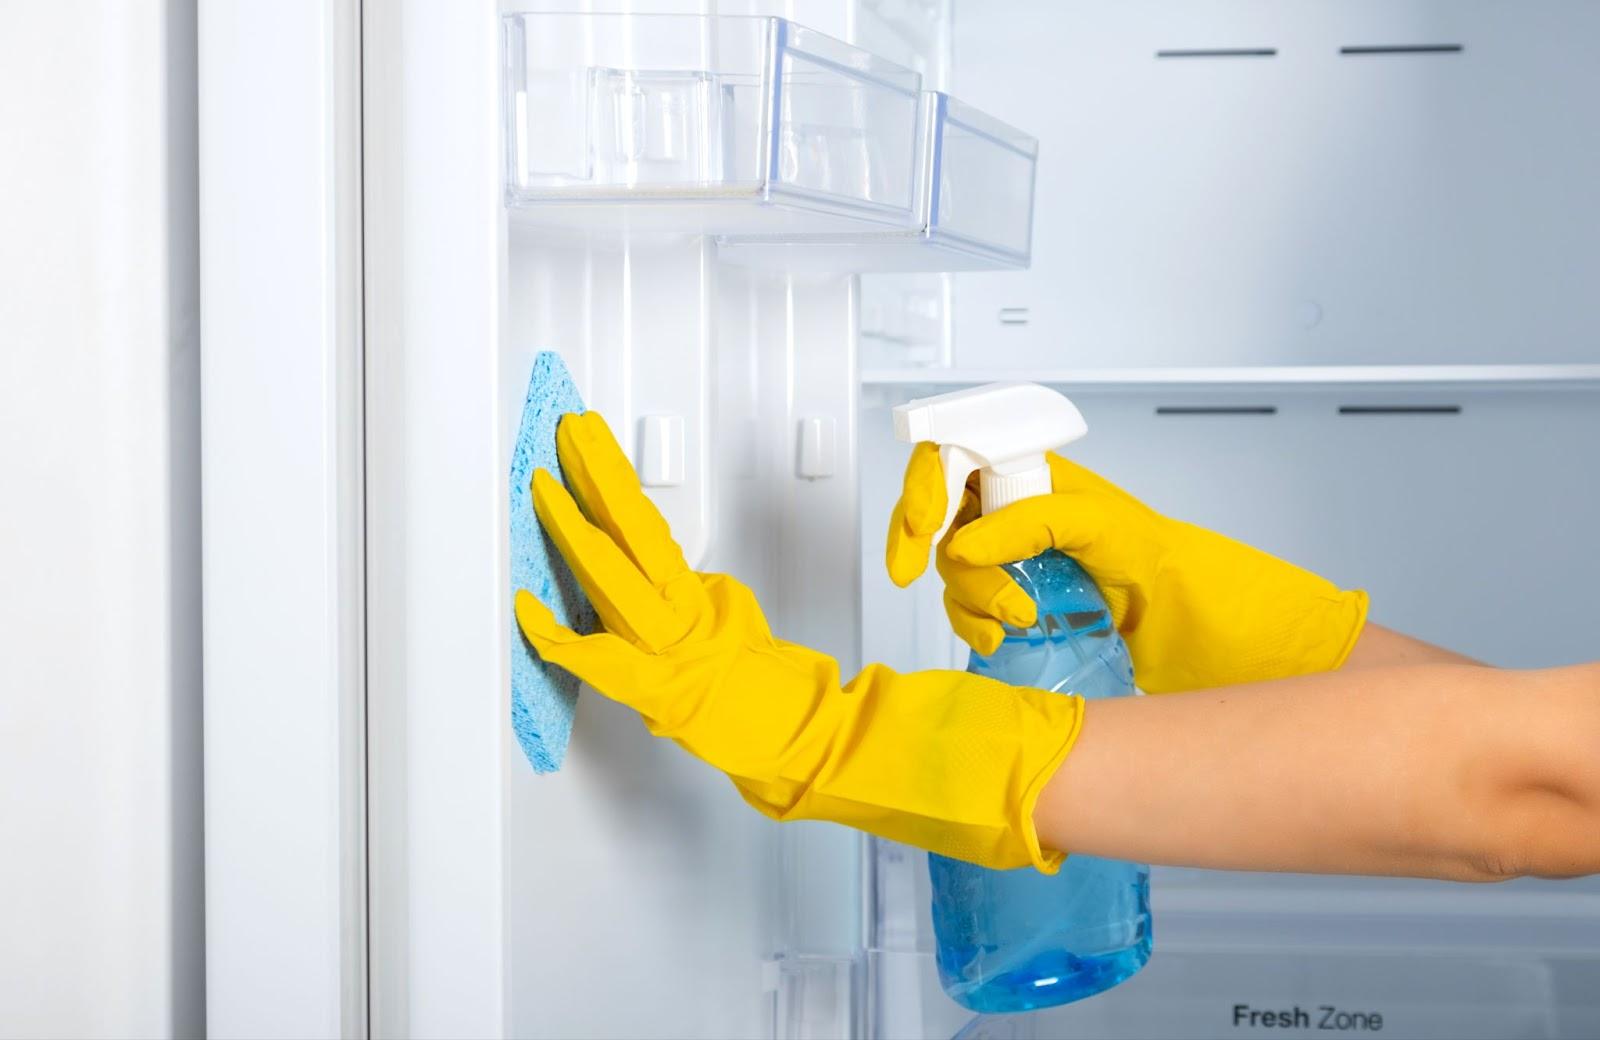
Step 1: Soften the accumulated gunk from inside of the refrigerator
Spraying the DIY vinegar solution all over your fridge’s interior, especially on those areas with accumulated gunk, will effectively soften it and clean out those sticky germs that cause smelly fridges.
This step is essential in the fridge cleaning process. It’s a simple yet effective way to break down that grime and to make your fridge smell fresh again.
Here are three reasons why:
- The Vinegar Solution: It’s a natural, cost-effective method that eliminates the need for harsh chemicals.
- Soaking Time: Leaving the fridge to soak helps penetrate tough spots, ensuring a thorough cleaning.
- Disassembled Shelves: While soaking, you’re free to focus on washing disassembled shelves and drawers.
Step 2: Wash the shelves and drawers
You’ll want to start washing the shelves and drawers next, using warm dish soapy water for a thorough clean.
The effectiveness of dish soap water is undeniable when it comes to cleaning fridge shelves and drawers. It cuts through grime seamlessly, lifting stains with ease.
Once you’re done washing, ensure you dry them well before replacing.
Drying after washing prevents unwanted smells and bacterial growth.
For removing grease from cabinets, nothing works better than Method Heavy Duty Degreaser.
Paired with the benefits of a microfiber cloth that lifts and traps dirt, your cabinets will look brand new in no time!
Remember, maintaining a clean fridge isn’t just about aesthetics, it’s about having the freedom to enjoy fresh food without worry or hassle.
Step 3: Deep Cleaning the inside of your refrigerator
After you’ve washed the shelves and drawers, it’s time to tackle the gunk and give the inside of your refrigerator a good scrub.
This deep clean process involves a three-step cleaning technique:
- Start by using eco-friendly cleaning supplies. Using a spray bottle with a mixture of vinegar and water is an excellent option for removing stains without harsh chemicals.
- Organize your space as you clean, wiping down every nook and cranny. This helps in maintaining freshness and preventing mold.
- Rinse with warm water to ensure no residue remains.
With this method, you’re not just making your fridge sparkle; you’re also promoting a healthier environment for food storage.
Step 4: Dry and reassemble all washed parts
It’s crucial that each washed part dries completely before you start the reassembly process, ensuring careful placement of each item in its respective place.
The drying process is not just about getting your fridge parts clean and dry; it’s a vital step toward maintaining efficiency and longevity for your appliance.
Understand the importance of drying by considering moisture as an enemy to proper reassembly.
Wet parts can lead to rusting and degradation, compromising the overall functioning of your fridge.
When it comes to reassembling steps, don’t rush. Remember that thorough drying complements careful parts placement.
Step 5: Clean jars and bottles before putting them back
Before restocking, always make sure your jars and bottles are thoroughly cleaned to prevent any sticky or crusty substances from dirtying your freshly cleaned space.
The last thing you want is gunk accumulation around the edges of the cap or seal, ruining your hard work.
So don’t be shy; remove those lids and wash them in the sink.
It’s all about maintaining that beautiful state of freedom from mess and disorder in your fridge.
Step 6: Wash the outside of your fridge, too
You’ll need a vinegar solution spray bottle and a soft clean microfiber cloth to effectively clean the outside surfaces, handles, edges, and seals of your appliance.
In choosing the right cleaning products, consider the three “Vs”:
- Vinegar for removing tough stains
- Velvet (microfiber) cloth for maintaining a shiny exterior
- Vigilance in doing this regularly to prevent bacterial growth.
Here’s how:
- Spray the vinegar solution liberally on hard-to-reach areas.
- Wipe with your damp microfiber cloth gently but firmly.
- Repeat as needed.
This simple yet efficient cleaning technique protects against rust while ensuring proper cleaning frequency without robbing you of precious freedom time.
So roll up those sleeves and give that fridge walls some love – because fridge cleanliness isn’t just about what’s inside; it matters on the outside too!
How to get rid of refrigerator smells with 6 eco-friendly deodorizers
You’ve done a great job cleaning your fridge, but what about those stubborn smells that just won’t go away?
Well, you’re in luck! In our next discussion, we’ll delve into six eco-friendly deodorizers – charcoal, potatoes, oatmeal, used tea bags and baking soda – that are not only effective at banishing those pesky refrigerator odors but are also kind to the environment.
Charcoal
Using charcoal as an eco-friendly deodorizer can significantly reduce unpleasant fridge odors, but it’s crucial to remind any kiddos that it isn’t edible.
This natural deodorizer provides a unique, cost-effective solution for odor elimination.
Here are three reasons why:
- Charcoal Cubes: Their porous structure absorbs foul odors, maintaining refrigerator freshness.
- Charcoal Benefits: It’s non-toxic and chemical-free, offering an eco-friendly solution to maintain a fresh-smelling fridge.
- Charcoal Effectiveness: Unlike synthetic fresheners, charcoal doesn’t mask smells—it eliminates them!
Remember the power of charcoal absorption and its effectiveness in keeping your home environment healthy and odor-free.
Potatoes
Switching gears, let’s talk about another eco-friendly odor absorber: potatoes.
Beyond their uses in a plethora of potato recipes, you can employ them as natural deodorizers.
Peel and cut a potato into small pieces, place it inside your fridge, and witness the magic.
Don’t forget to replace it every few days for maximum efficiency.
Potato storage tips are key here; ensure they’re kept in a cool, dark place to prevent sprouting.
Oatmeal
After discussing potatoes, let’s shift our focus to another versatile pantry staple – oatmeal.
Let’s delve into the mechanics of how oatmeal pulls off this seemingly magical feat.
The grains, made up of absorbent fibers, naturally draw in and trap unpleasant odors.
Think of oatmeal as a quiet sentinel, standing guard in your refrigerator, silently waging war against unwanted scents.
A bowl of plain, uncooked oatmeal placed strategically within your fridge can work wonders.
Over time, you’ll notice a decrease in those pungent smells, all thanks to the humble oat.
Used tea bag
Let’s not forget that used tea bags can absorb bad odors and leave a fresh aroma in your space, just replace them every 3-4 days.
This is one of the many benefits of using used tea bags.
You’ll want to know how to properly store tea bags for this so they stay dry and practical.
It’s as simple as keeping them in an open container or small bowl.
Baking soda
You’ve probably got a box of baking soda in your kitchen, but did you know it’s a fantastic refrigerator deodorizer that’ll effectively remove odors? Here are the steps:
- Find an open container and fill it with baking soda.
- Place the container in your fridge.
- Leave it there for 24 hours.
The benefits of using baking soda go beyond odor removal.
It’s a natural solution that gives you the freedom to maintain freshness without relying on artificial products.
Want to enhance its effect? Add a few drops of essential oils into the baking soda container for a pleasant scent.
You’re not just addressing kitchen odors, you’re creating an inviting atmosphere with this simple yet powerful fridge freshener.
Try it out and experience the wonders of baking soda uses today!
Vinegar
Moving on from baking soda, let’s delve into the world of vinegar.
You’ve likely stumbled upon various vinegar types in your quest for natural cleansers.
They’re not only eco-friendly solutions but also pack powerful disinfectant properties. Whether it’s sourced from apples or grain, vinegar is safe to use in household chores, including allergy prevention.
Here’s a tip: you can transform your fridge into a freshness haven using vinegar as an eco-friendly deodorizer.
Simply soak a small paper towel in vinegar and place it in an open container inside your fridge for 24 hours.
Remember to replace the towel when it dries out every few days.
Conclusion
It’s clear that maintaining a clean fridge can significantly benefit your health and wallet. By prioritizing maintenance frequency, you’ll experience several advantages:
- Health benefits: Regular cleaning prevents the growth of harmful bacteria, safeguarding your health.
- Waste reduction: Organizational strategies help in efficient food preservation, reducing wastage.
- Appliance lifespan & Energy efficiency: A clean fridge runs more efficiently, saving energy and prolonging its lifespan. (Read also: Best Energy Efficiency Star Rating for Fridges)
Maintaining cleanliness doesn’t just mean pest prevention; it also means freedom – from illness, unnecessary expenses and environmental harm.
It’s all about taking control over the small things to make big changes in your life.
So go ahead, take charge of your fridge – the rewards are worth it!