
Your vacuum is an essential tool for routine household cleaning. While it is built to handle dirt, an excessive buildup of dirt can be a problem for any machine. This is why you need to clean your vacuum cleaner once in a while.
Most people tend to forget that household cleaning tools like the vacuum need to be cleaned and maintained properly. Without regular cleaning, your vacuum cleaner will simply be moving dust and dirt around in your home instead of getting rid of it! When you clean a vacuum, you are quite literally extending its lifespan.
Wondering how to clean a vacuum cleaner? Do you only need to clean the filters or do they need to be replaced? Should you use a damp cloth dunked in soapy water or compressed air?
Follow us as we take you through everything you need to know.
Why You Should Clean Your Vacuum Cleaner
Most people hardly give much thought to cleaning their unit. The common belief is that most of the dust will be collected in the canister or dust bag which will be emptied after cleaning.
While this is true, not all the dust from cleaning your hard floors, rugs, or carpet will be collected this way. Some debris and dirt will end up finding their way into various parts of the vacuum such as the beater bar and filter. Just check under the beater bar and you might see hair and loose threads wrapped around it!
As the unit operates to remove dust and dirt from surfaces in your home, the trapped dust inside the machine will be agitated and will be released back into the air. This can trigger allergies and lead to respiratory issues you were trying to avoid in the first place.
Whether you have a bagged or bagless vacuum, there is routine cleaning that should be done once in a while. When you clean your vacuum regularly, you are also ensuring that it will perform optimally and last for a long time. One of the obvious signs that your unit needs to be cleaned is reduced efficiency. If you need to run the machine over the same spot over and over again, then the vacuum cleaner itself might need to be checked and cleaned.
Fur, hair and other types of dust and dirt that are wrapped around the beater bar or vacuum brush can impede its functionality. Similarly, a clogged filter will not be able to do its job of filtering dust from the air as effectively as it is meant to. Cleaning your vacuum will help get rid of all of these and get the unit working well again.
Also, in the process of cleaning your vacuum, you may discover other mechanical faults in the units that need to be fixed. In essence, cleaning your vacuum not only helps it to perform better in the present, but it can also help prolong its lifespan.
How Often Should You Clean Your Vacuum?
Typically, the instructions for cleaning a vacuum including how often this should be done will be contained in the owner’s manual that comes with the unit. You may also be able to find additional information about the recommended frequency of cleaning by doing some online research.
As a general rule of the thumb, you should clean your vacuum thoroughly at least once a year — and by thorough cleaning we mean taking the whole unit apart and cleaning each part. If the model cannot be thoroughly cleaned yearly, you should at least clean it once in 19 months.
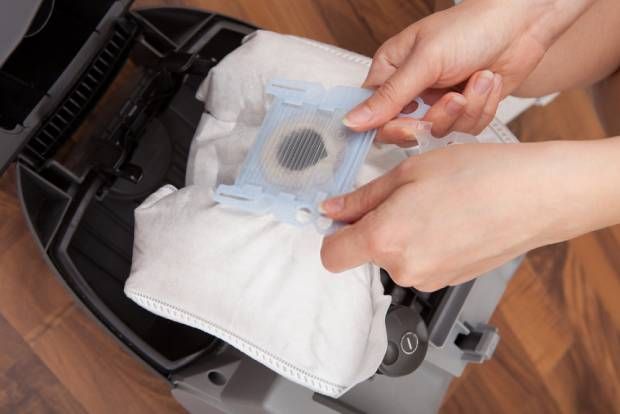
Asides from this scheduled comprehensive cleaning, some basic practices help prolong the life of your vacuum. For instance, for units with dust bags, you should not allow this bag to become completely filled with dirt. it should be emptied when it is about two-thirds of its capacity. Allowing the bag to fill up will reduce the efficiency of the vacuum. Bagless vacuum cleaners that have canisters should also be emptied after every use. The filters should also be cleaned at least once a week (if you use the vacuum daily) and monthly (if you only use it once or twice a week).
Safety Precautions
Cleaning a vacuum thoroughly involves taking the entire unit apart to remove trapped dirt. It’s a simple but delicate process and improper handling can damage some parts of your vacuum or even the entire unit. When cleaning a unit, the following are some of the common errors to avoid to prevent expensive damage.
Unplug and turn off your vacuum
The first thing to do before you start your cleaning routine is to always unplug the vacuum from the power source and ensure it’s turned off. Trying to wash a vacuum cleaner while it is still turned on can be quite dangerous. It can lead to physical injury, electrical shock, or damage to your clothing. Much more than turning the unit off, unplugging it entirely is recommended since it is possible to accidentally switch on if it is left plugged in.
A worn out electrical fault
One of the many benefits of cleaning your vacuum is that it can help you detect electrical faults in the units like worn-out wires or parts of the electrical circuit sticking out. Most times, an electric fault of your machine is usually accompanied by a smell. During cleaning, you are to carefully check and ensure that all electrical faults are fixed.
Likely causes of faults in your vacuum cleaner may include a blocked hose, filters, or an overfilled bag. They put pressure on the vacuum motor which in turn leads to overheating. As you clean, you are to fix them, empty the bag, replace filters, remove the hose and check for any blockage and clean them. Also inspect your chord, motor, and switch to avoid electrical problems.
Don’t carry vacuums by their cord
One of the common mistakes many people are guilty of is carrying the vacuum by the cord or pulling the cord out of the wall. The cord can be very fragile and delicate. It can easily develop a fault when you abuse it. You should also avoid using the unit if the cord is damaged to avoid electrocution or the risk of a fire outbreak.
How to Clean a Vacuum Cleaner – Step by Step Guide
Cleaning vacuum cleaners isn’t exceptionally complicated. All you need are the right tools and a little patience. Here’s our vacuum cleaning guide to help you out.
Some things you might need:
- Dish soap
- Microfiber cloth
- Warm or hot water
- Disinfectant (optional)
- Seam ripper / comb / scissors
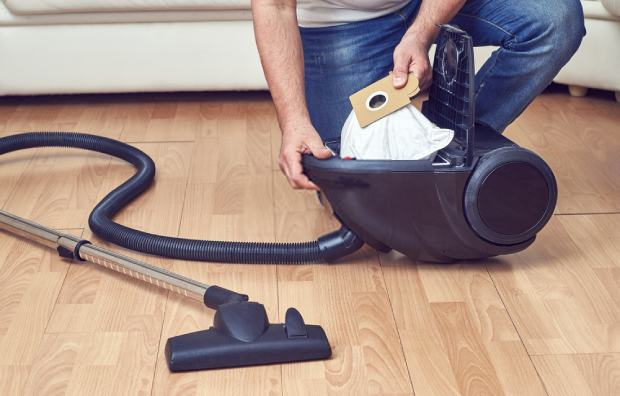
Take the vacuum apart
The first step to take note of when you clean your vacuum is take apart all the removable parts of the unit. This way you will be able to reach the interior parts of the vacuum cleaner. When detaching these parts, do not forget to take note of how they fit back in so that you don’t have too much trouble fitting it all back together.
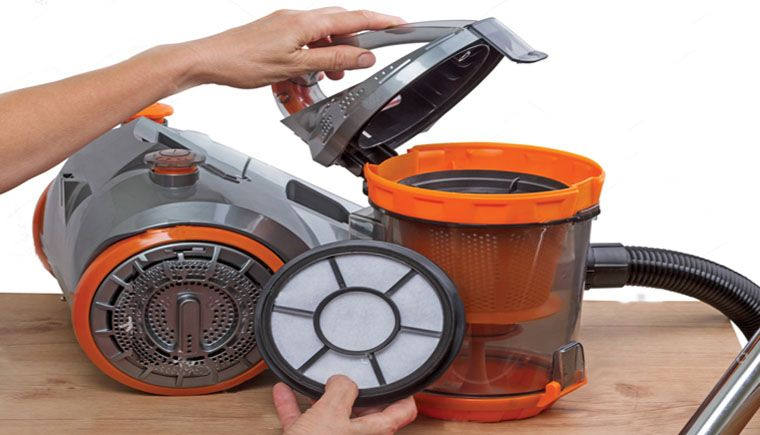
Clean the filters
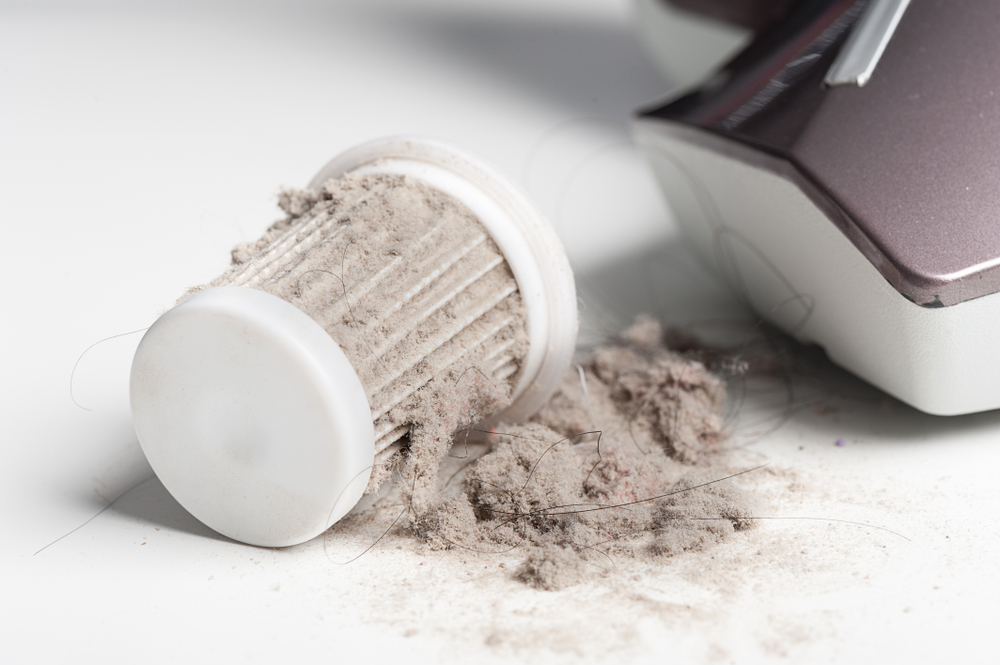
You know it’s time to clean your vacuum filter when a peculiar smell starts coming from your vacuum or when it suddenly sounds louder than usual. The filters are usually located at the top of the canister. Many vacuum cleaners come with more than one filter. You should go through your manual to know how many are in your vacuum cleaner and their location. Some manufacturers may also include instructions on how to clean a vacuum filter.
For cartridge filters, gently remove it and tap it against a dust bin to dislodge the stuck dust bunnies. If your vacuum has a washable HEPA filter, you can rinse it in warm water but be careful not to damage its fibers. If it has non-washable filters that are not functioning well anymore, the filters need to be replaced. Air dry until no more dampness remains.
Clean the canister
The canister is where dirt collected by the vacuum is stored and is a component of a bagless vacuum. However, if your vacuum comes with a dust bag, you can skip this step. For bagless vacuums with canisters, you need to separate the canister from the vacuum cleaner first (check the owner’s manual for how to do this). To clean your vacuum canister, empty it then soak it in warm soapy water (add a disinfectant to the water) and scrub with a brush. Rinse it in cool water then allow it to air dry for at least 24 hours.
Clean the interior
After the canister has been cleaned, use a small brush to remove every dirt from the interior part of the vacuum. You should clean the interior using a downward stroke and try not to brush further up. If there are spots you can’t seem to reach, you can try using compressed air. You can direct compressed air around the vacuum interiors to remove any residual dust and debris that may be lingering in the nooks and crannies.
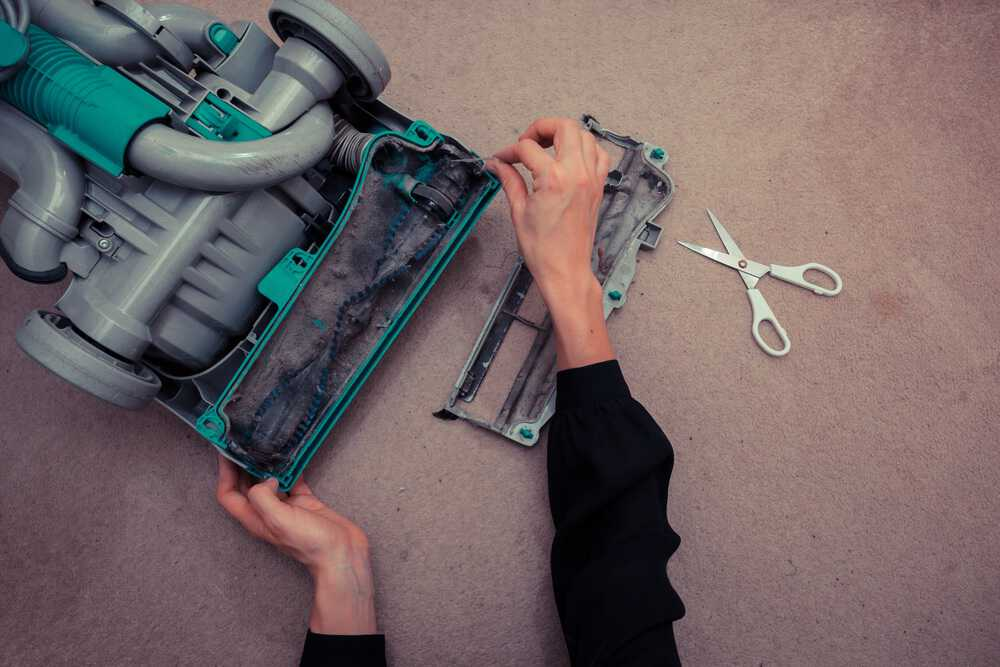
Clean the beater bar
Hair strands, pet hair and other accumulated debris may be wrapped around the beater bar. If the beater bar is jammed with hair strands, you should use a seam ripper or scissors to carefully extricate the hair strands instead of using your hand to pull the debris manually. Mind the bristles when you do this so you don’t damage them. Also, there’s a passageway near the rotating brush which most people tend to ignore. Remove your rotating brush if it is removable then clean the dirt in this passageway. You can also disinfect it using alcohol. Generally, it is recommended that you use a glove, especially when cleaning this part of the vacuum since it may contain disease-causing microbes trapped in the unit.
Clean the attachment accessories
These are relatively easier parts to clean. These accessories can refer to extensions like a dusting brush. Create soapy water by mixing just a little dish soap in warm water. Then, you can begin wiping down these accessories using the warm soapy water. A soft damp cloth or a microfiber cloth is recommended. Vacuum accessories with hair strands and other debris can be brushed or carefully removed with a seam ripper. Rinse the accessories in cool water and let them air dry for at least 24 hours.
Wipe down the exterior unit
Wipe down the exterior unit. Again, you can use a damp cloth or a microfiber cloth. You can also wipe it down with alcohol or disinfectant. Be sure to give it time to air dry before turning on the vacuum again.
Reassemble the vacuum
When you are done cleaning each part like this and they are now fully dried, you can now reassemble the vacuum. Put the different parts back together and ensure a tight fit. You can also add new or replacement parts if necessary. After you reassemble the vacuum, you can give the unit one last wipe with a dry microfiber cloth.
Recommended Vacuum Cleaner Models
So let’s say you’ve cleaned your vacuum and it still isn’t functioning well. It may just be passed its prime. That means it’s time to get a new one! Here are our top picks of the best vacuum cleaner Malaysia models.
Best Cordless Vacuum Cleaner: 2-in-1 Ergorapido PowerPro ZB3414AK
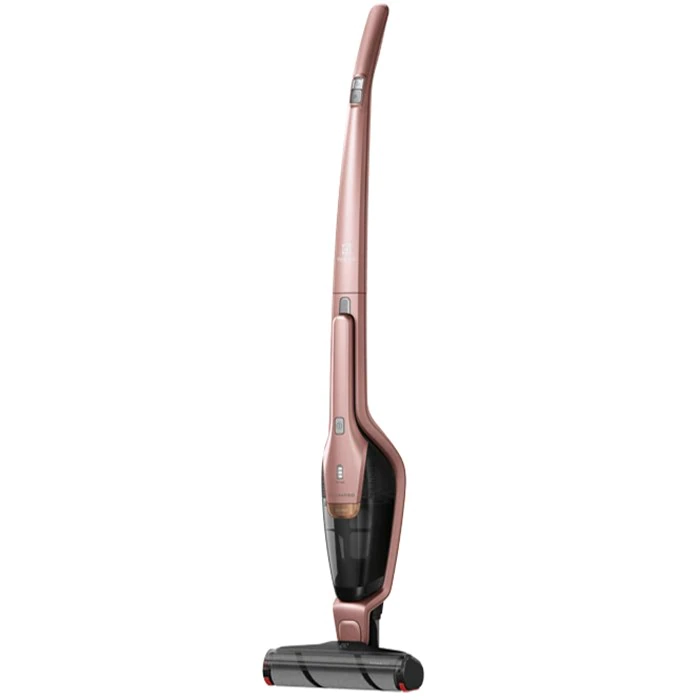
The 2-in-1 Ergorapido PowerPro ZB3414AK is a battery-powered model designed to deliver optimal performance on different floor surfaces. This vacuum unit offers superior edge cleaning capabilities thanks to a sealed nozzle system which helps to create a powerful high-speed suction on the front and the side. This cordless vacuum cleaner is designed to deliver up to 48 minutes of efficient cleaning with just four hours of charge.
Pros
- Lightweight hand-held design
- 2-in-1 vacuum cleaner
- LED-battery indicator
Cons
- Run time is only 16 minutes at maximum power
Best Vacuum Cleaner on a Budget: Midea MVC-SC861R/B 2-in-1 Stick Vacuum Cleaner
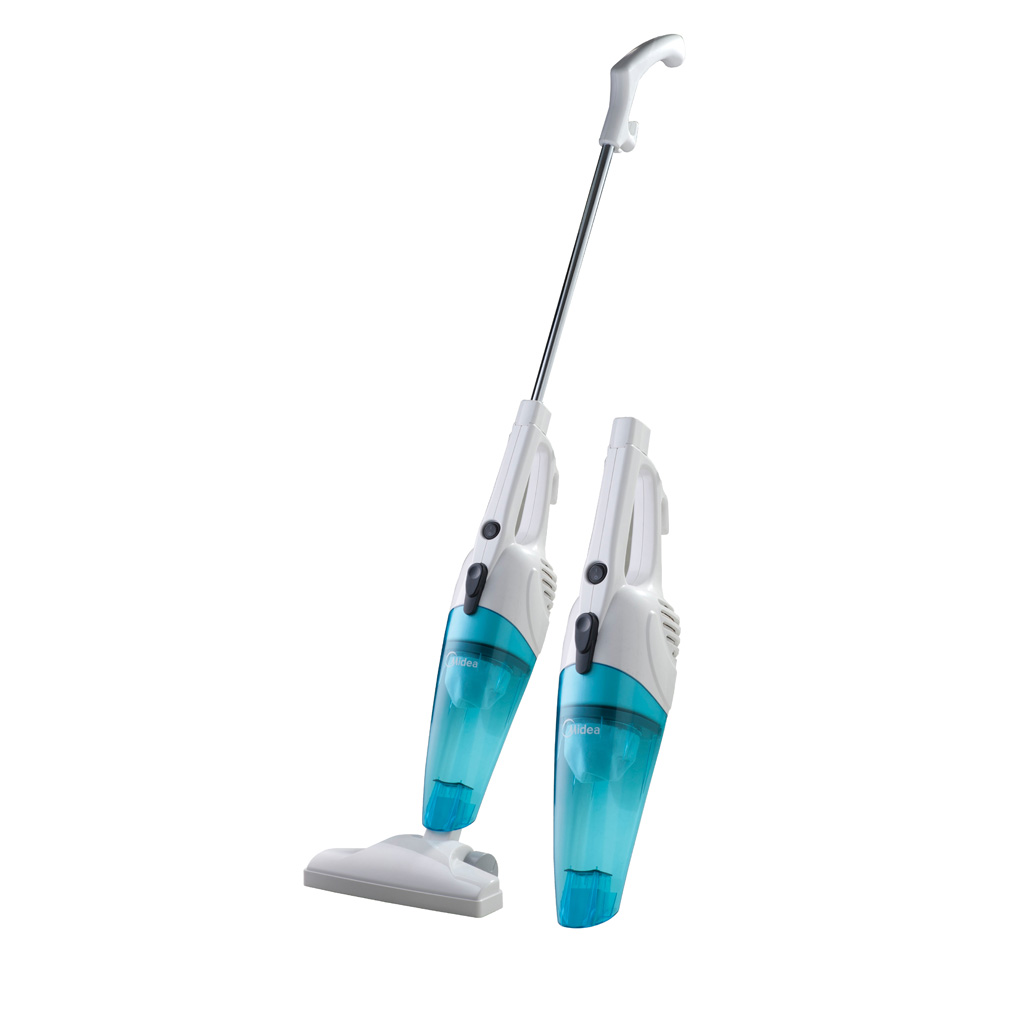
If you’re on a tight budget but you’d still like to purchase a good quality vacuum, the Midea MVC-SC861R/B 2-in-1 vacuum cleaner is an ideal option to consider. This vacuum can be used as a stick unit or detached for use as a handheld vacuum. It has a lightweight build and is designed to be quite ergonomic.
Despite being quite cheap, the unit features a powerful and durable motor that can deliver enough suction power for efficient cleaning. The dust cup is detachable for easy cleaning when you are done vacuuming.
Pros
- Versatile build
- Compact and lightweight
- Long power cord
Cons
- May not be suitable for heavy-duty whole house cleaning
Best Vacuum Cleaner for Pet Hair: Dyson V11 Fluffy Cord-Free Vacuum Cleaner
Not all cordless vacuum cleaners can handle pet hair efficiently, but the Dyson V11 Fluffy Cord-free vacuum is built for this. This cordless vacuum cleaner is powered by a high-capacity motor. This model also features an advanced 6-layer filtration system designed to capture the smallest of dust particles and pet hair while also ensuring that the unit does not get clogged. This cordless vacuum is a smart unit with loads of advanced features including an advanced LCD screen that displays the vacuum’s performance as well as an auto-mode that automatically adjusts the vacuum cleaner’s operation based on the surface (hard floors or carpets) it is being used to clean.
Pros
- Up to 60 minutes of runtime
- Built-in power management system
- Convenient ‘Point and shoot’ dust bin emptying
- Whole-machine filtration
Cons
- Recharge time is long
Best Robot Vacuum Cleaner: Khind Robotic Vacuum VC9X6A

Robotic vacuum cleaners like the Khind Robotic Vacuum VC9X6A present modern and convenient ways to handle tidying up your floors. This unit features four modes for spot cleaning, edge cleaning, full-go mode, and auto-cleaning mode. The unit’s performance will be adjusted based on the selected mode. Since it is a robotic vacuum, it is cordless. It is powered by a powerful battery that offers a run-time of 65 minutes on a single charge. You can use this robotic vacuum for both dry vacuuming and mopping hard floors.
Pros
- Rechargeable unit with an auto-charge function
- Programmable with 4 modes
- Versatile design (for sweeping and mopping)
Cons
- It cannot clean under furniture with low clearance (less than 7.5cm)
Conclusion
Now you know the do’s and don’ts of cleaning a vacuum! It is not enough to buy a good quality vacuum; you also have to clean your vacuum regularly if you want the unit to maintain good performance and prolong its life. All vacuum cleaners — from canister vacuums to cordless stick vacuums — should be cleaned once in a while.
We hoped that this guide helped you learn how to clean your vacuum well. While instructions for cleaning vacuum cleaners may vary slightly from one unit to the other, the guidelines in this article should be helpful for most units. However, if you have any questions about how to clean a vacuum or any other questions about vacuum cleaners in general, leave us a comment!